Easily build Windows 10 apps now with RAD Studio XE8 and this great new VCL Windows 10 style.
The full release of Windows 10 is right around the corner and your end users will expect apps to adopt the new visual style. This is a great opportunity to get ahead of the curve and prepare your VCL app for Windows 10 today!
The new style works for VCL apps with RAD Studio XE8, C++Builder XE8, or Delphi XE8. XE8 customers can download the new Windows 10 VCL style by clicking here.
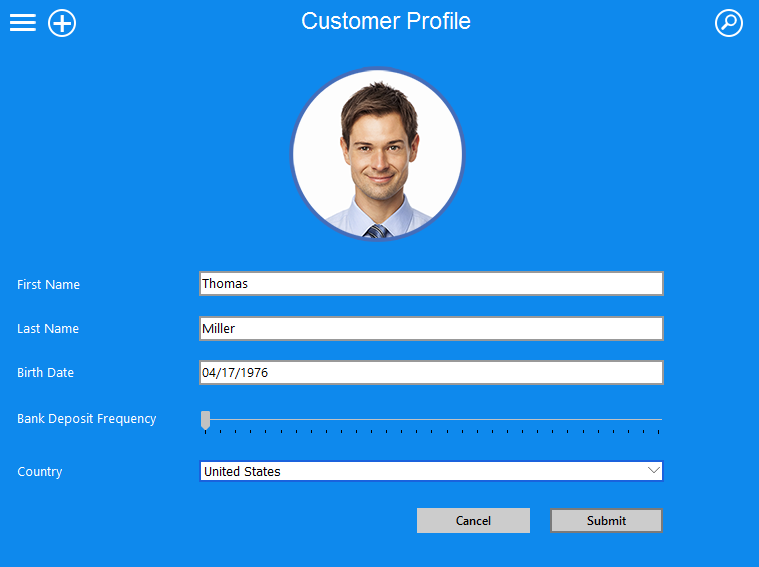
To showcase the new VCL style for Windows 10, I created a small sample application that you can see in the screenshots below. In this sample application, I also added a couple of TImage controls using flat icons for the plus icon, the search icon, the refresh icon and the drawer icon.
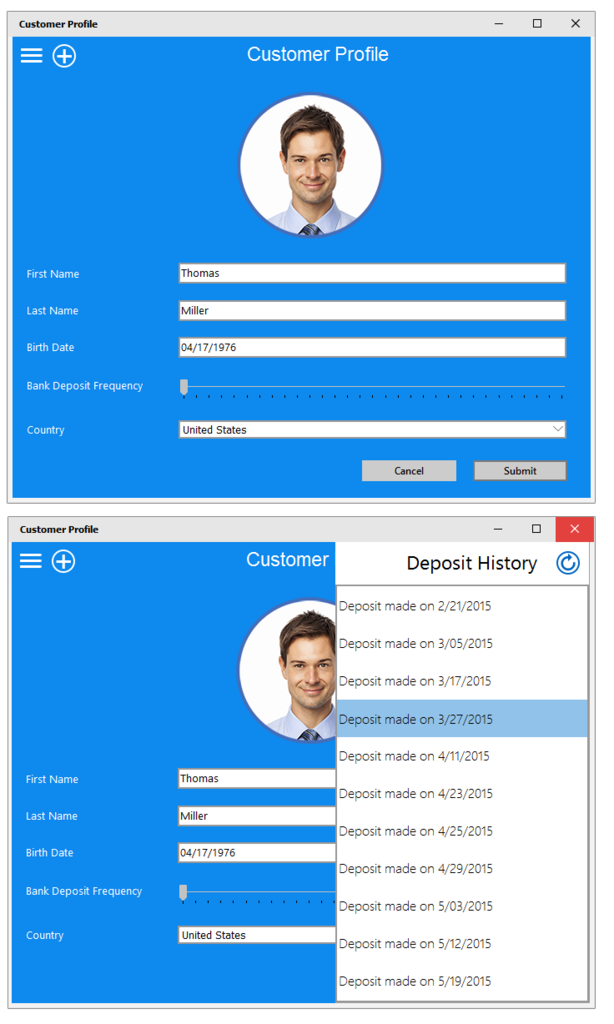
As you can see in the screenshots below, the window border style, system icons and UI controls such as TEdit, TButton, TCheckBox, TTrackBar etc. all have the new Windows 10 look and feel. In my sample app, I also added a slide in-drawer to show and hide the deposit history which is shown in a TListBox control. Scroll down to the bottom of this post for the code snippet.
Demo app running in full-screen mode on Windows 10:
Demo app with BorderStyle = bsSizable on Windows 10:
Here is a code snippet from my demo for building a slide-in drawer. You could also place the hamburger icon (three line glyph) into the right panel and hide only a portion of the panel so that the hamburger icon is visible at all times. You could then reposition the glyph once the slide in animation is complete.
procedure ShowControlFromRight(AControl: TControl);
var
  I, Step: Integer;
  TickCount: DWord;
begin
  if AControl.Visible then Exit;
  AControl.Align := alNone;
  AControl.Anchors := [];
  AControl.SetBounds(Form1.ClientWidth, 0, AControl.Width, Form1.ClientHeight);
  AControl.Visible := True;
  AControl.BringToFront;
  I := AControl.Left;
  Step := AControl.Width div 20;
  repeat
    TickCount := GetTickCount;
    Dec(I, Step);
    if I > Form1.ClientWidth - AControl.Width then
      AControl.Left := AControl.Left - Step
    else
      AControl.Left := Form1.ClientWidth - AControl.Width;
    Application.ProcessMessages;
    repeat
    until TickCount + 1 < GetTickCount;
  until AControl.Left <= Form1.ClientWidth - AControl.Width;
  AControl.Anchors := [akTop, akRight, akBottom];
end;

procedure HideControlToRight(AControl: TControl);
var
  I, Step: Integer;
  TickCount: DWord;
begin
  if not AControl.Visible then Exit;
  AControl.Align := alNone;
  AControl.Anchors := [];
  Step := AControl.Width div 20;
  repeat
    TickCount := GetTickCount;
    AControl.Left := AControl.Left + Step;
    Application.ProcessMessages;
    repeat
    until TickCount + 1 < GetTickCount;
  until AControl.Left > Form1.ClientWidth;
  AControl.Visible := False;
end;

procedure TForm1.Image2Click(Sender: TObject);
begin
 if Panel2.Visible then
    HideControlToRight(Panel2) else
    ShowControlFromRight(Panel2);
end;
